The bromeliad is a daunting houseplant for a beginner because of its reputation for being slightly difficult to care for, however, it isn’t too bad once you know what to do.
The bromeliad is definitely a popular houseplant for a good reason; its array of colors and textures. Let’s take an in-depth look into how you can properly care for your bromeliad.
Table of Contents
Main Characteristics
The bromeliad’s botanical name is bromeliaceae, and its family includes both epiphytes and terrestrial species.
It is native to the tropical regions of North and South America and grows in conditions similar to the orchid, however, it is much more forgiving and adaptable. It is best known and celebrated for its stunning, thick foliage that grows in a natural rosette.
Let’s take a look at the most popular types of bromeliad below.
Bromeliad Types
Here are a few common genera of the bromeliad that is planted as houseplants:
- Ananas comosus ‘Champaca’: This bromeliad has spidery leaves with miniature pineapples on top of its flower spike. Interesting to note that the ananas genus includes the common pineapple.
- Neoregelia: This is the most diverse of the bromeliad genera, and it has some of the most vibrant colored bracts, ranging from pink to deep purple.
- Vriesea: This species features a tropical, almost feather-like flower and variegated foliage.
- Guzmania: This is the most common genus, which includes G. lingulata, G. zahnii, G. sanguinea, and G. monostachia. These plants have long, flat, and glossy leaves. Their bracts can be either red, yellow, orange, purple, or pink.
Size
The bromeliad can grow up to 3 feet (91.4cm) tall, however, the average bromeliad reaches a height of around 18 inches (45.7cm).
Growth Rate
It is a relatively slow grower and will take 1 to 3 years before it reaches its mature height and can flower. On average it will grow about 6 inches (15.2cm) a year.
Lifespan
If cared for efficiently the bromeliaceae can survive for up 2 to 5 years.
You should take note that once the plant flowers, it’ll slowly die off and produce new pups.
Is It Toxic to Cats or Dogs?
This houseplant is safe for pets as well as people.

Bromeliad Care
We’ll describe exactly how to give your plant all the love and care it needs to survive and bloom.
How Often to Water
Bromeliaceae are quite drought-tolerant plants, however, they are sensitive to overwatering and root rot. You should only water it once the top 2 inches (5cm) of the soil is dry. During the winter you’ll notice that you won’t need to water it as frequently as you would during the warmer summer months.
There are two watering techniques that you can use; you can either water the soil or the central tank. If you are watering the soil then always water it until the water begins to flow out of the drainage hole.
When watering the central tank (the ‘cup’ where the leaves meet), you should keep it full during the hot summer months. This method of watering is also a great way to flush and remove any salts that have built up over time.
Ideally, even if you prefer to water the soil, you should still flush the cup once a month.
When you water the bromeliad, refrain from using a metal watering can or pot as this houseplant is sensitive to metal and it could have damaging effects.
Drainage
It is imperative that your plant is grown in fast-draining potting soil much like the ponytail palm. We’ll tell you the perfect type of soil and ways to aerate your potting mixture later on.
There are other ways you can improve drainage apart from the type of soil. Your container should always have one large drainage hole or a few smaller drainage holes at the bottom of the pot.
Additionally, you can add a layer of gravel and sharp sand at the bottom of the pot to promote drainage.
Another thing to keep in mind is that the saucer at the bottom must be emptied. The bromeliad will succumb to root rot if left to sit in wet conditions.
If your area or home has high humidity levels then it’s best to make use of a clay or terracotta container. This porous material will allow water to seep away easily.
How to Prune
Bromeliaceae only require pruning to maintain their shape and health, especially once the mother plant has flowered.
Cut off any dead, damaged, or brown leaves, this includes the flower once it is brown. The bromeliad only flowers once in its life and then the mother plant begins to wither away.
When it begins to die, you need to cut the flower’s stalk down to the central tank. This will allow energy to be directed to growing the new, healthy pups.
We’ll let you know exactly how to propagate these pups later on.
Top Tip: Always wipe the pruners or scissors with a rubbing alcohol mixture to sterilize the blade, and prevent the spread of any disease.
How to Repot
Keep in mind that bromeliads have a small root system, so they won’t need to be repotted frequently if ever. It will only be necessary to repot it if the plant has become pot-bound and its roots begin to grow through the drainage hole.
Be aware that the new container mustn’t be too large or else you risk overwatering the plant and even causing root rot.
Follow the simple steps below:
- Remove the bromeliad by sliding a knife around the pot’s perimeter to loosen the soil. You can then carefully slide it out on its side.
- Fill a new pot one-third of the way with a fast-draining potting mixture.
- Place the plant in the center of the container and add in any fresh soil as required.
- Deeply water the houseplant until the water begins to drip out the bottom drainage hole.
- Care for the repotted plant as you would normally care for it.
Environment
Light Requirements
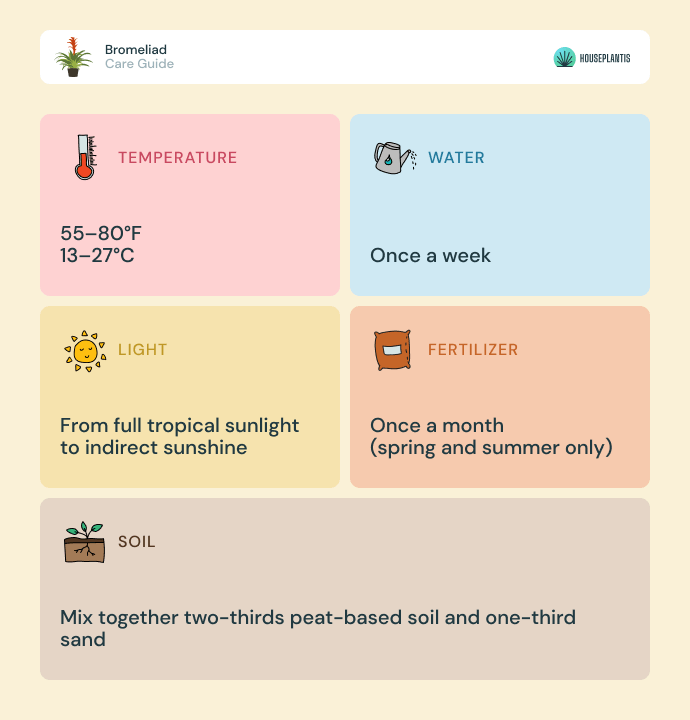
Bromeliads can survive a wide range of sunlight, from full tropical sunlight to indirect sunshine. Generally, those with soft, flexible, and spineless leaves will prefer lower light levels, while those with stiff and hard leaves will prefer bright, full sunlight.
Overall, the bromeliads love a sunny place like a windowsill.
Soil
It will not survive in heavy soil, as it’ll be too dense preventing fast drainage. It is imperative that the potting mixture allows for fast drainage while still holding onto moisture.
You can make use of an orchid mix, charcoal, or soilless potting mixture.
Here’s a great recipe for some potting mixture: mix together two-thirds peat-based soil and one-third sand.
Fertilizer
The houseplant doesn’t need to be fed too often. One must be cautious to not overfeed the plant.
You must never fertilize the central tank, one should only fertilize the plant around its base.
Feed your plant once a month during the spring and summertime. Ideally, you should make use of a water-soluble fertilizer that has been diluted to half its strength. Refrain from fertilizing the bromeliad during winter.
Pot Size and Type
A plastic pot is perfect for hot and dry areas because it can hold onto moisture for longer, however, please note that if you live in a very humid area then use a clay pot. Make sure that no matter what type of pot you use, there is a drainage hole.
Bromeliads have a small root system, so they grow best when kept in smaller pots. Typically, a young plant should be grown in a 4-inch (10cm) wide pot, and a mature bromeliad should be kept in a container about 6 inches (15.2cm) wide.
Additionally, you should check that the container is heavy enough and won’t fall over as the bromeliad grows taller.
Temperature
The great thing about bromeliads is their tolerance to a wide temperature range. It will flourish in temperatures between 55 to 80°F (12.7 – 26.6°C). A general rule of thumb is that the hotter your region or home is, the more humidity it’ll need.
Bromeliaceae will not be able to withstand temperatures below 40°F (4.4°C).
Humidity
Since it’s a tropical plant, the bromeliad loves an environment with high humidity levels between 40 to 60 percent.
If you live in a dry region there are a few things that you can do to improve humidity levels surrounding your plant:
- Mist the plant with tepid water once a week.
- Group it amongst other houseplants.
- Place a humidifier in the same area as the plant.
- Fill a shallow tray with gravel and some lukewarm water, and then place the container on top of the gravel.
Many other plants thrive in humid environments too, like the gardenia plant and monstera plant, these methods can be used for these plants as well.
Outdoors vs. Indoors
In humid climates and USDA hardiness zones of 10 to 11, the bromeliad can grow outdoors relatively effortlessly.
The only thing to worry about is humidity levels and sunlight. If you live in a dry region then spray your plant with warm water frequently. During the summertime the houseplant needs to be shaded from direct sun rays, so find a position where it’ll receive indirect sunlight.
Flowering
Bromeliaceae are infrequent bloomers so there is no specific season when it’ll flower. This houseplant only blooms once in its lifetime, but don’t be too sad because these blooms can last anywhere between 3 to 6 months.
The flowers come in an array of colors, either red, green, orange, purple, or yellow. The bloom cycle depends on a few things; length of the day, temperature, humidity, watering schedule, and feeding.
The flower should be cut back once it begins to die to make way for the pups that the mother plant has produced. These offsets will carry on this stunning plant’s legacy.
If you want to encourage blooming, you can expose your plant to ethylene gas.
How to Grow
You can grow your bromeliad collection through propagating its pups and even through growing it from a seed.
Take a look below at the guides to growing your bromeliaceae.
Pup Propagation
You can multiply your bromeliad collection and really grow a beautiful garden full of bromeliads if you wish. The pups that shoot up from the mother plant are used to extend and carry your collection on once the mother plant dies.
You should only propagate the pups once they’re at least 6 inches (15.2cm) tall and have begun to develop a small central cup.
It is best to plant your pups during the springtime when they’re actively growing. Follow the guide below to remove, separate, grow and care for the bromeliad pups.
- Loosen the soil by sliding a blunt knife around the perimeter and then gently pull the plant out.
- Brush off the excess soil and look for where you’ll divide the pup from the mother plant.
- Use a sterilized knife or pair of shears to cut the pup as far down as possible, however, if your pup has roots then make sure that you don’t damage them.
- Find a container for your little bromeliad babies and fill it with peat-based soil.
- Plant the pup about 2 inches (5cm) deep into the soil.
- Deeply water the pup and place it in bright, indirect sunshine.
- Once the pup has rooted, you can care for your pups as you would a normal bromeliad. You can tell if they’ve rooted by slightly tugging at the pup and feeling if it resists or not.
It’ll take up to 2 to 3 years before your plant will flower.
How to Plant Seeds
You can grow a bromeliad from seed, however, it’s an unreliable method of propagation and the seed will take a long time to germinate or grow.
Here’s a step-by-step guide for growing a bromeliad from a seed:
- Find a shallow container and fill it with some moist peat moss.
- Evenly spread the bromeliad seeds over the potting mix and lightly sprinkle a small amount of soil on top.
- Evenly mist the soil and cover the container with a clear plastic bag to retain moisture.
- Find a bright and sunny home for your seeds and keep an eye out for any new growth.
- You can repot the seedlings once a few leaves have begun to grow, and then you can care for them as you would a mature bromeliad.
How to Revive
If you have noticed that your plant’s leaves or flowers are looking unhealthy, then there are a few potential reasons for this. We’ll discuss the culprits behind any disease or issues your plant may be facing.
Brown Leaves
When your leaves start to turn into a brown color this is due to a lack of moisture. You are either underwatering your plant or there is a lack of humidity.
If the soil is too dry then simply try soaking your plant.
Follow the steps below to soak your plant:
- Place your container in your basin with 3 to 4 inches (7.6 – 10cm) of cool water.
- Leave it to soak up the water for 45 minutes.
- You’ll need to feel that the top 3 inches (7.6cm) of the soil is wet, this way you’ll know that the soil has absorbed the water.
- Drain all the excess water out before you place the plant back in its home.
If dry soil isn’t the issue then you’ll need to up the humidity levels in your home. An easy way to do this is by misting your plant with lukewarm water every week.
Brown Flowers
If your bromeliad’s flower is turning brown, this is totally normal. You don’t need to stress because this will always happen, once your plant has bloomed it’ll last around 3 to 6 months and then slowly die off.
Once the flower is unattractive and negatively impacting the look of your plant, simply trim it off. This will allow for energy to be directed to new pup growth.
Yellow Leaves
The yellowing of leaves is due to overwatering and insufficient sunlight or too much sunshine.
Overwatering
You’ll need to tweak your watering schedule and reduce the number of times that you water your bromeliad. You’ll need to wait for the soil to dry completely before watering it again. In the future make sure that you wait for the top of the soil to dry in between watering.
Improper sunlight
You need to monitor your plant’s leaves and once you notice that they’re yellowing then you should adjust its position. The plant needs bright sunlight, however, if your home is hot then the sun rays may be scorching its leaves.
Drooping Leaves
You’ll notice your plant’s leaves become limp and droopy when there is a lack of moisture in the air. This has to be rectified as soon as possible or else the leaves will eventually die and fall off.
There are a few ways to increase the humidity levels surrounding your plant. You can place it among other plants, mist it on a weekly basis, and put it in a humidity tray, or place it in your bathroom.
Wrapping It Up
Although the bromeliad may seem demanding and a bit of a challenge to grow, it really is quite easy once you know how to care for it.
The beautiful blooms, although only once in the plant’s lifetime, are a stunning sight that you can recreate by propagating the pups. Just remember to maintain its environmental conditions.