The alocasia genus is made up of many different species. These houseplants add a stunning tropical touch to your home.
This popular houseplant is relatively easy to care for as long as you’ve created the optimal environment. We’ll be explaining exactly how to do that along with how you can grow your own plant and revive it.
Table of Contents
Main Characteristics
The alocasia houseplant is also commonly known as the elephant’s ear plant. This plant shouldn’t be confused with another houseplant that is also called the elephant ear plant. It has a few other nicknames too, such as amazon elephant’s ear, African mask, and Kris plant.
It belongs to the same family as the anthurium plant; the Araceae or Aroid family. It’s also native to tropical regions in Asia and eastern Australia, however, many of its species are native to the Philippines.
These houseplants produce large, arrow- or heart-shaped leaves with a waxy and glossy look. Its foliage has distinctive veining that gives it a striking appearance. Depending on the species the leaves may have straight or wavy edges and its foliage comes in an array of sizes too.
Fun fact: Alocasia means ‘the tree that grows up to the heavens’. It is even believed that this plant features in the fairytale Jack and the Giant Beanstalk.
Alocasia Varieties
This genus is made up of nearly 100 different species, and they each produce uniquely shaped and colored foliage. We will take a look at the top five most common types below.
- Alocasia cucullata: It’s also known as the ‘hooded elephant’s ear’ and ‘Buddha’s palm’. This species has slender stems and emerald-green, heart-shaped leaves with prominent veins.
- Alocasia amazonica: This species is also commonly known as ‘Polly’ alocasia. It grows red, arrow-shaped leaves with wavy edges.
- Alocasia macrorhiza: It’s also called ‘giant taro’, and it is one of the largest alocasia species. It can grow up to 15 feet (4.5m) tall and it sprouts dark green, elongated leaves.
- Alocasia longiloba: The ‘tiger taro’ has light green leaves that are decorated with creamy-white veins.
- Alocasia zebrina: This species has stunning, glossy, and heart-shaped foliage and its green stems are covered in creamy stripes.
Size
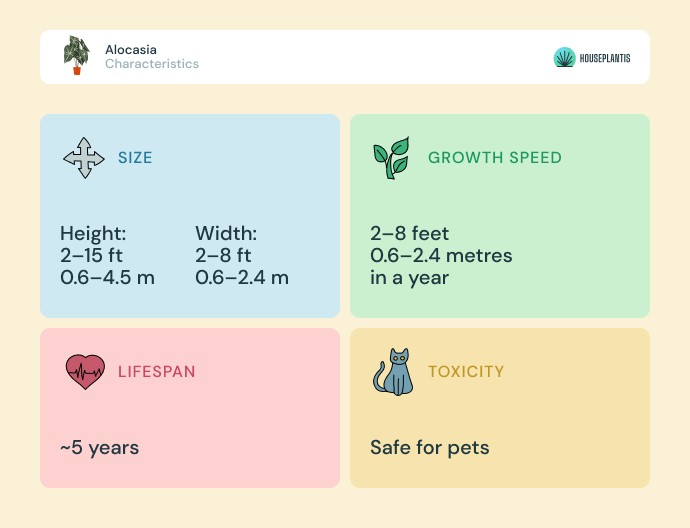
When cared for well, this houseplant can reach a mature size of 2 to 15 feet (0.6 – 4.5m) tall and 2 to 8 feet (0.6 – 2.4m) wide.
The size of your houseplant will depend on the species and type of alocasia.
How Fast Does It Grow?
The plant can grow around 2 to 8 feet (0.6 – 2.4m) in one year. Typically, it will produce 2 or 3 leaves every month during its active growing seasons.
How Long Does It Live?
The average houseplant will survive for approximately 5 years. If you grow it in a greenhouse then it can even live for up to 15 years.
Toxicity
Just like many other members of the Araceae family such as the calla lily, this houseplant contains a toxic sap. The sap is made up of insoluble calcium oxalate crystals which cause microtears when ingested.
When consumed it is said that these crystals feel like small needles digging into the throat. We’ll go through other symptoms that can affect both your pets and yourself.
Is It Poisonous to Cats and Dogs?
The houseplant is toxic to both cats and dogs. When your pet ingests the sap it can experience a variety of negative side effects which we’ll list below.
- Increased drooling
- Nausea
- Vomiting
- Oral pain
- Decreased appetite
- Swollen tongue, throat, and mouth
If your cat or dog comes into contact with the sap, it may also develop a red, itchy, and painful rash too.
It is important to always contact your vet if you suspect that either one of your pets has eaten any part of the plant.
Is It Poisonous to Humans?
The sap contained in this plant is also toxic to people. We will quickly list the most common symptoms experienced when the sap is ingested.
- Swollen lips, throat, and tongue
- Difficulty swallowing
- Nausea
- Diarrhea
- Vomiting
- Stinging sensation in the mouth
Apart from the symptoms we listed above, you can develop skin dermatitis by merely coming into contact with the sap.
If you or a child has eaten any part of this houseplant then you should seek professional medical advice right away.
Alocasia Care
In this section, we will delve into how you can care for your plant properly and create the perfect environment for it.
How Often to Water It
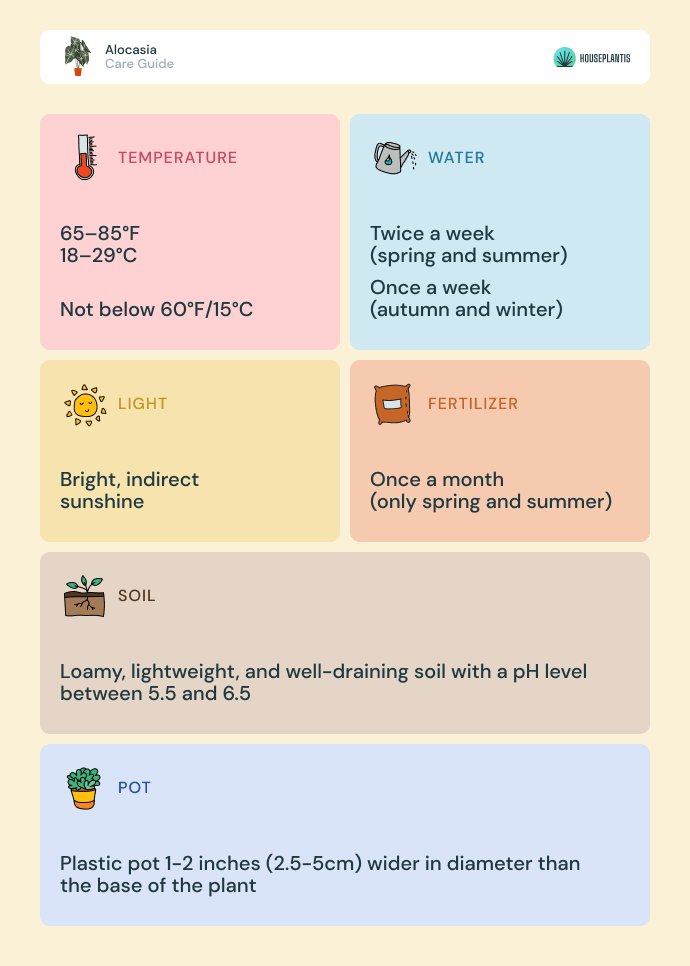
An alocasia flourishes when grown in moist soil, just like the poinsettia. Typically, it should be watered once the top 2 inches (5cm) of the soil is dry.
During the spring and summertime, you can water it twice a week. You will water the plant less often during winter and autumn as it only needs to be watered once a week or less.
The soil should be watered evenly, and it must never be left to completely dry out.
Fun fact: If the plant is overwatered then it’ll ‘sweat out’ the excess moisture. You’ll notice small droplets form on the leaf, and this process is known as guttation.
Drainage
Drainage is important when it comes to maintaining a healthy and lush houseplant. You can enhance the drainage by using an airy and lightweight potting mixture.
Furthermore, the pot must have drainage holes and you should empty the saucer out after watering the plant. This will prevent the soil from becoming too moist and causing the plant’s roots to rot.
When and How to Prune It
An elephant’s ear plant can be pruned once a year during the springtime. It’s best to trim back any overgrown, damaged, or dying foliage.
We’ve listed the steps below:
- Sterilize a pair of pruners or scissors before you cut off any stems or leaves.
- Cut off the stems below the leaf node near the base of the plant.
- You can also pull off any smaller leaves.
- Water the houseplant if needed and place it back in its sunny home.
Repotting
The alocasia should be transplanted once every two years during the springtime. You’ll also need to repot it when it’s rootbound or when its growth has slowed down.
When choosing a new pot, you only need to go up by one size. A large container will cause the plant to become waterlogged.
Take a look at the steps below:
- Water it well the day before you plan on repotting it.
- Slide the houseplant out of its container and gently shake away the soil surrounding the rootball.
- Take out a new pot and fill one-third of the way with fresh potting mix.
- Plant it at the same depth that it was in its previous pot and water it well.
- Put the houseplant back in its original location and care for it as you normally did.
Environment Conditions
Light Needs
The elephant’s ear plant thrives under bright, indirect sunshine. Some species can tolerate partial shade and even prosper under full sun.
The amount of sunlight it requires will depend on the exact species and the climate it is grown in.
Best Soil Mix
The best type of soil is one that’s loamy, lightweight, and well-draining. It prefers a slightly acidic potting mixture with a pH level between 5.5 to 6.5.
The potting mixture must also contain some organic matter like compost to enhance the nutrient density.
A great potting mixture can be achieved by mixing together 1 part soil, 1 part perlite, and 1 part peat moss.
Fertilizer
The alocasia needs to be fed once a month during the spring and summertime. You should refrain from feeding it during winter and autumn as the plant will suffer from a fertilizer overdose.
Ideally, you should use a liquid and well-balanced fertilizer with a ratio of 20-20-20 or 10-4-3. You’ll also want to dilute it to half its strength.
Pot Size and Type
This houseplant prefers to be kept slightly pot bound. The container only needs to be 1 to 2 inches (2.5 – 5cm) wider than the rootball’s diameter.
A plastic container will create the optimal environment for this plant. It will allow water to drain out easily, and it won’t dry out the soil too quickly.
Minimum Temperature
This houseplant prospers in warm climates similar to its native environment. The optimal temperature range is between 65 to 85°F (18 – 29°C).
You must make sure that the temperature never dips below 60°F (15.5°C), or the plant may begin to die.
Humidity Level
It absolutely flourishes in humid areas and the optimal level is around 70 percent. It can tolerate 60 percent relative humidity, however, it won’t survive in a dry region.
To increase humidity levels surrounding your plant, you can spritz its leaves, place it on a humidity tray, or position a bowl of tepid water next to the plant.
Outdoors vs. Indoors
The alocasia can be grown outdoors in USDA hardiness zones 10 to 11. The type of care it requires when grown outside will differ slightly, and we’ll fill you in on what the major differences are.
Firstly, you must water the plant more often and you should mist its leaves with tepid water three times a week. The soil may dry out faster as it is warmer outdoors during the summertime, so it’s important to maintain a moist environemnt.
The plant should also be placed under indirect sunlight, and make sure that it doesn’t receive any direct light. Additionally, it may need to be brought back inside during the wintertime.
This genus does well when placed outdoors for a period of time as this may even encourage it to produce flowers.
Flowering
The elephant’s ear plant rarely blooms when grown indoors. Outdoors, this plant will produce light yellow or white flowers during the springtime. The blooms will last for around 8 to 12 weeks depending on the care it receives.
The best way to promote blooms is by growing it in perfect conditions. You will need to make sure it receives plenty of bright and indirect sunlight.
Additionally, it should be watered well and never left in temperatures below 60°F (15.5°C). The plant must also be fertilized regularly as it will need enough nutrients to produce the flowers.
How to Grow It
You can grow your alocasia collection by propagating it and planting its seeds. It is best to do so during the springtime because the plant is actively growing.
We’ll touch on each method of propagation and provide you with a guide to planting its seeds below.
Propagation
An elephant’s ear plant can be propagated in soil and water. The best part is that each process is easy to carry out.
Propagating in Soil
You can propagate this houseplant by dividing its rootball, rooting a cutting, or planting an offset. When propagating the plant in soil, you must use a loamy and aerated potting mixture.
Rhizome Division
This is a simple and very successful method. All you have to do is slice the rootball into different sections and then plant them in their own containers.
Take a look at the guide below:
- Remove the plant out of its current container and brush off the soil surrounding the roots.
- Take out a sharp knife and slice the rhizome in half.
- Gently pull the divisions apart and untangle the roots.
- Fill a new pot with soil and plant the division so that its roots are completely covered.
- Water it well and position it under bright sunlight.
- After 2 to 4 weeks the roots will settle and the plant will begin to sprout new growth.
- You can then care for it as you did its mother plant.
Growing from Stem Cuttings in Soil
A single stem cutting can be planted in soil and it will eventually become an entirely new plant. Check out the steps listed below to root a cutting.
- Snip a 4 inch (10cm) long stem with a few leaves still attached to it.
- Remove the leaves on the lower half of the stem and dip the cut area in rooting hormone.
- Prepare a new pot with fresh soil and plant the cutting.
- Make sure to mist it frequently and place it in a sunny area.
- The cutting will root in about 3 weeks, and then you can treat it the same way you would a mature houseplant.
How to Propagate Pups in Soil
Offsets are also known as pups, and these are miniature plants that are attached to the mother plant. You can harvest these and then plant them in soil.
Follow the steps below:
- Lift the plant out of its container and dust off the soil surrounding the rootball.
- You will then need to pull the offsets away from the mother plant. You must make sure that the pup is at least 8 inches (20cm) long.
- Fill a new pot with moist soil and plant the offset in it.
- You can then place the offset under indirect light, and water it well so that the soil is moist.
- In 2 to 4 weeks the pup will develop new roots, and you can then care for it as you normally would.
Propagation in Water
When propagating the cutting and offset in water make sure to use distilled water. You’ll also need to change the water at least once a week so that algae doesn’t build up.
Stem Cuttings in Water
Propagating the cutting in water is super simple. You’ll need to snip off a healthy stem, place it in water, and then repot it later on.
Check out the steps below:
- Cut off a stem that is about 4 inches (10cm) long and pluck off the leaves attached to the lower half of the cutting.
- Fill a glass jar with filtered water and place the stem inside.
- The cutting should be positioned under bright, indirect sunlight.
- After around 4 weeks new roots will begin to grow, and you can then plant the cutting in soil.
Offsets in Water
You can grow a new houseplant by propagating a pup in water. The offset will be placed in a glass of water and then it can be repotted in soil.
Here’s a step-by-step guide:
- Remove the adult plant out of its container, and pull the offsets away from the rootball.
- Fill a jar with room temperature water and place the offset inside. You should put the jar near a sunny windowsill and make sure to replace the water once a week.
- Now, you must monitor the pup for new root growth.
- After 2 to 4 weeks, new root growth will emerge and you can then repot the offset in soil.
How to Grow It from Seed
You can plant the alocasia’s seeds and watch as new growth emerges in just a few months. We’ll explain the process below.
- Fill a tray with moist peat moss and scatter the seeds evenly across the surface.
- Mist the seeds and cover them with a plastic bag.
- Place the seedlings under bright sunshine, and make sure to keep the soil moist.
- After 2 to 3 months, new growth will begin to sprout, and then you can remove the plastic bag.
- Once the seedlings are large enough you can repot them in their own container.
How to Revive It
When the alocasia isn’t grown in the optimal environment its appearance will be negatively impacted. The houseplant’s leaves may become droopy, yellow, or brown if it isn’t cared for adequately.
We will discuss each potential issue and we’ll tell you what you can do to revive your houseplant.
Why Is It Drooping?
Droopy foliage will occur when the plant is grown in a dry environment, it isn’t receiving enough sun, or when it is lacking in nutrients.
The houseplant thrives in a humid environment, so you’ll need to make sure that the air surrounding the plant isn’t too dry. You can increase the humidity level by misting its leaves or placing a humidifier near the plant.
It is imperative that the houseplant is grown under bright, indirect light. If it is placed in a shady area then find a new home by a sunny windowsill.
When it isn’t fed well then your plant cannot maintain its healthy appearance. It’s best to develop a regular feeding schedule and fertilize it during its active growing seasons.
Yellow Leaves
Its leaves may begin to yellow when the houseplant is watered improperly or if it is nutrient deficient.
The houseplant must be watered every week so that the soil isn’t too dry. You must also be wary to not overwater it either.
The best way to know when your plant needs a drink is by feeling the soil, and when it’s dry then you can water it, whereas, if it’s too moist then allow it some time to dry out before watering it again.
The houseplant needs to have enough nutrients so that it can sprout healthy growth. You will need to fertilize it during the spring and summertime.
Brown Leaf Spots
The leaves may develop brown spots when the plant is infected with a fungal disease, grown in a dry area, watered incorrectly, and if it is receiving too much sunshine.
Ideally, you can remedy a fungal infection by repotting the plant. You should also be careful that you aren’t overwatering it as this commonly causes fungal diseases.
The houseplant thrives in tropical regions so you’ll need to ensure that the soil and air aren’t too dry. Always make sure to water the plant when the soil is dry, and it’s a good idea to mist its leaves several times a week.
You must create a watering schedule to maintain moist potting soil. It’s important that the soil doesn’t become waterlogged or too dry.
During the summertime, the afternoon sunlight can be especially harsh. You must place it under indirect sunshine and keep it out of any direct light.
Final Remarks
The alocasia genus is made up of many eye-catching and vibrant houseplants. These tropical plants make for beautiful centerpieces and are worth the care you give them.
The best way to ensure that your plant flourishes year-round is to create the ideal environment and always remember to water it well.